Today's post brings a few first for me! One: I have never done a "tutorial" before and two: I have never made these stars before! So here we go and I hope you like it and try these out too!
We have all seen these stars lately, in magazines, on peoples houses, in fancy boutique shops etc. If you haven't noticed....they cost a FORTUNE! I have wanted them for quite sometime and would not pay the price to buy one. I came across some tutorials on how to make your own and to be honest I was very intimidated! Now I know there was no need because it was so easy and FREE to make!
To start you need a cereal box, scissors and a star template, I made two different size stars.
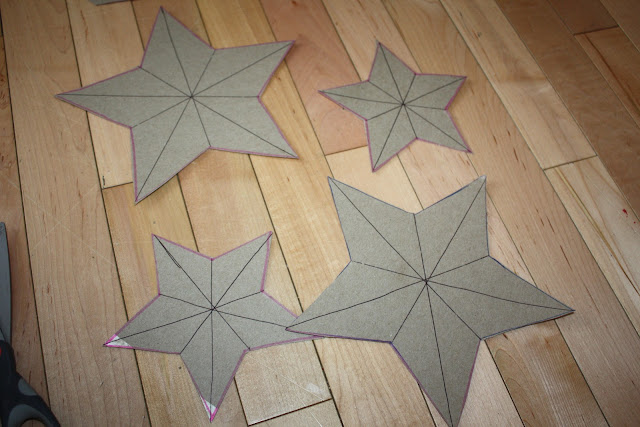
Open up your cereal box and trace your stars out on it, then cut them out.
Next draw lines using a straight edge from the top peak to the bottom inverted peak on all 5 points of your star. Then score each of these lines with one blade of your scissor.
Then begin to fold each of your lines, once you start they pretty much bend for you because of your score marks. Fold the line coming down from each peak out by pushing your fingers up under and the short lines in to make a 3D effect. Next paint them any color you choose with acrylic paint and let them dry, then display! 


Very nice, simple tutorial. Thank you.
ReplyDeleteThank you Danelle im glad you found it helpful!
DeleteVery nice, simple tutorial. Thank you.
ReplyDeleteYou've made some adorable stars. I'll try this, beacause you make it so simple. Mary
ReplyDelete